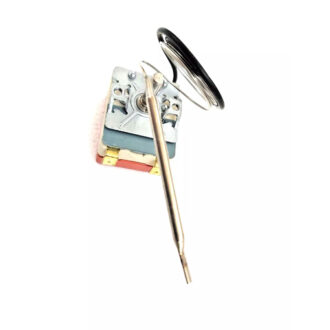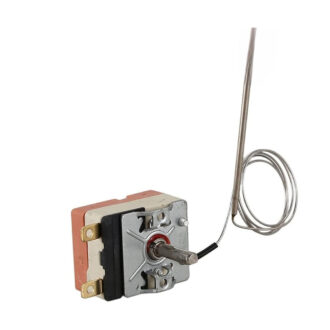
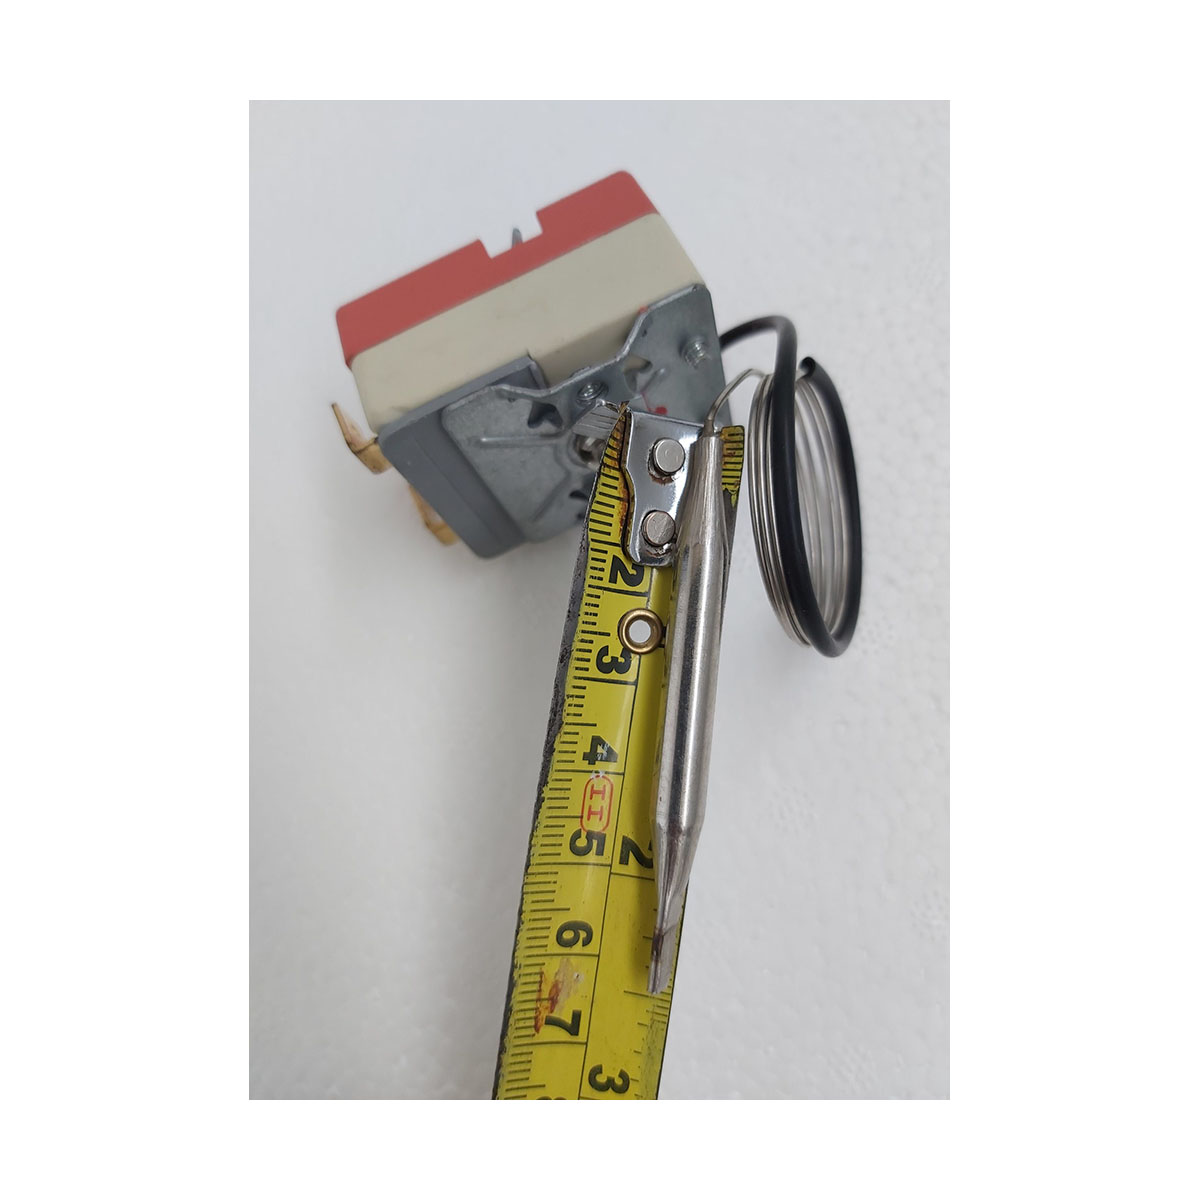
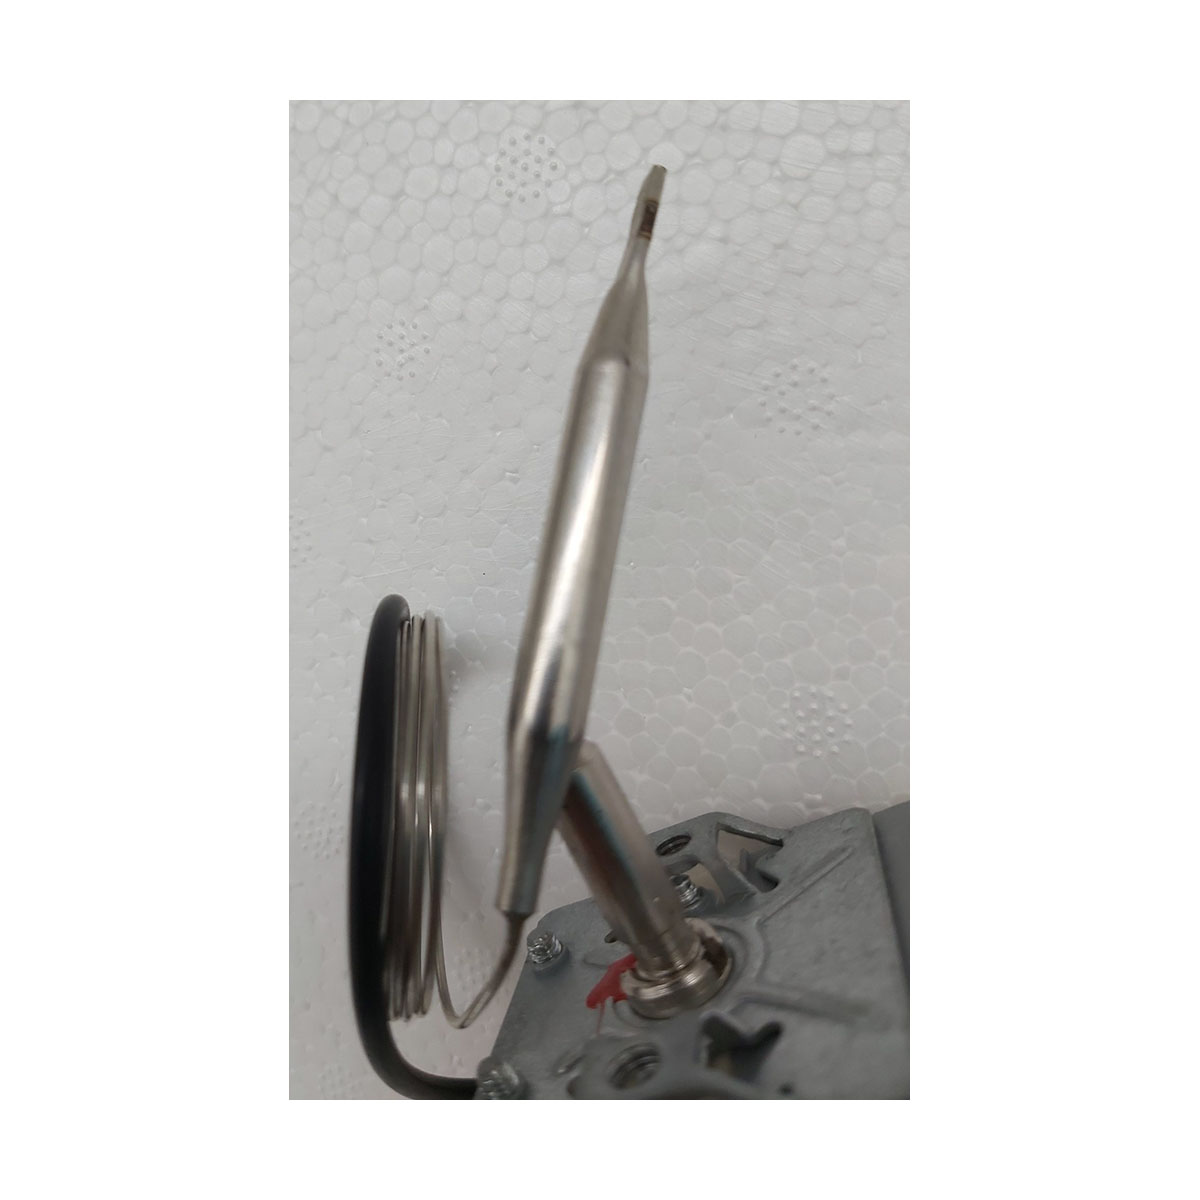
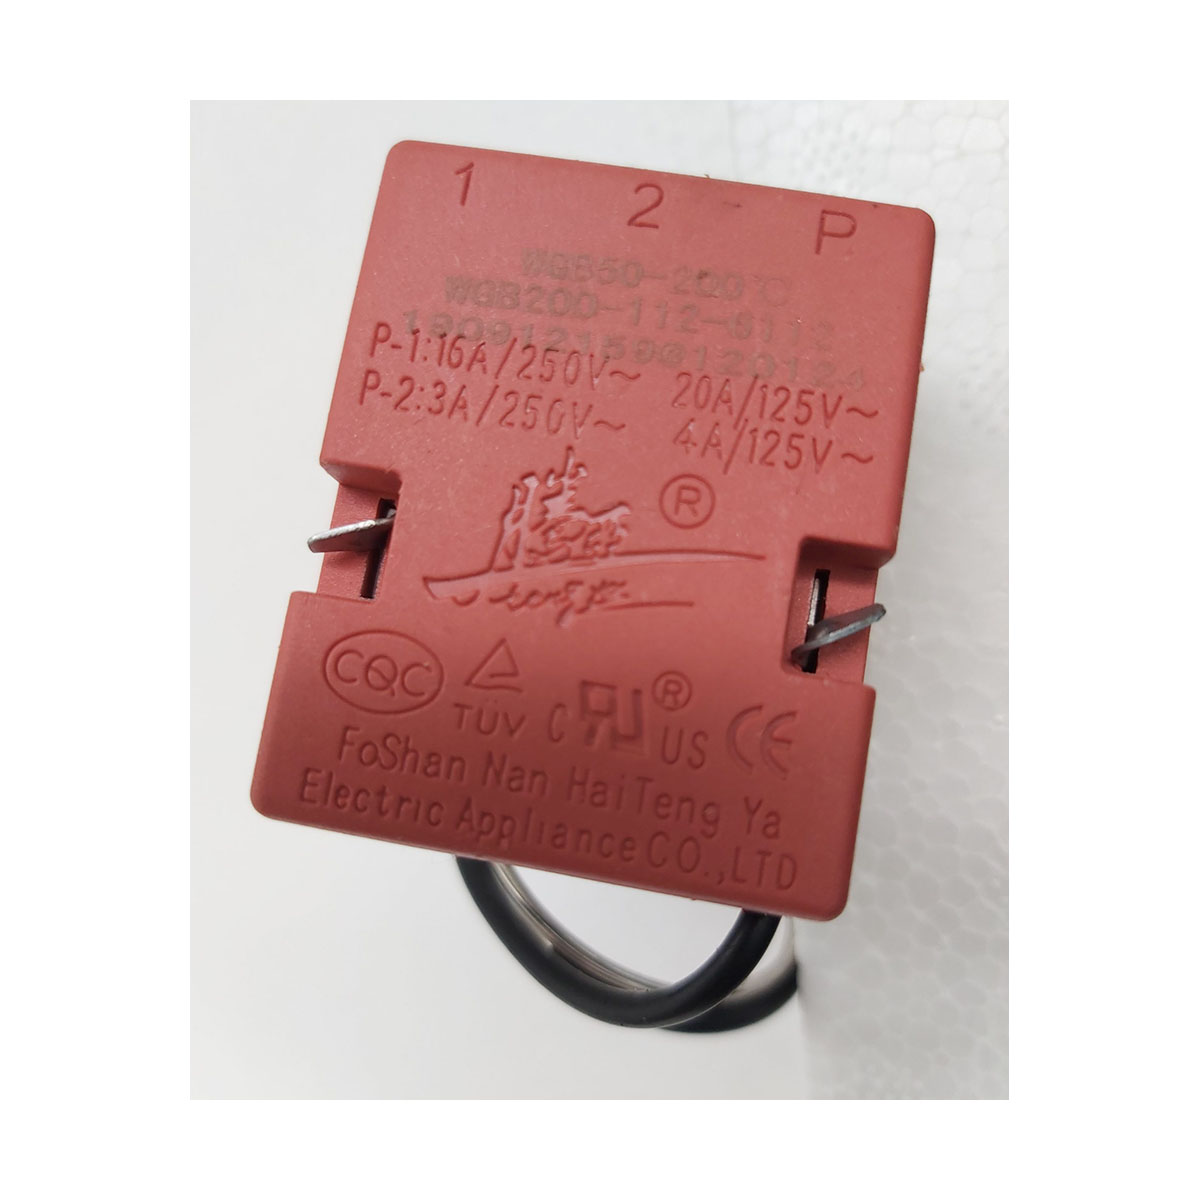
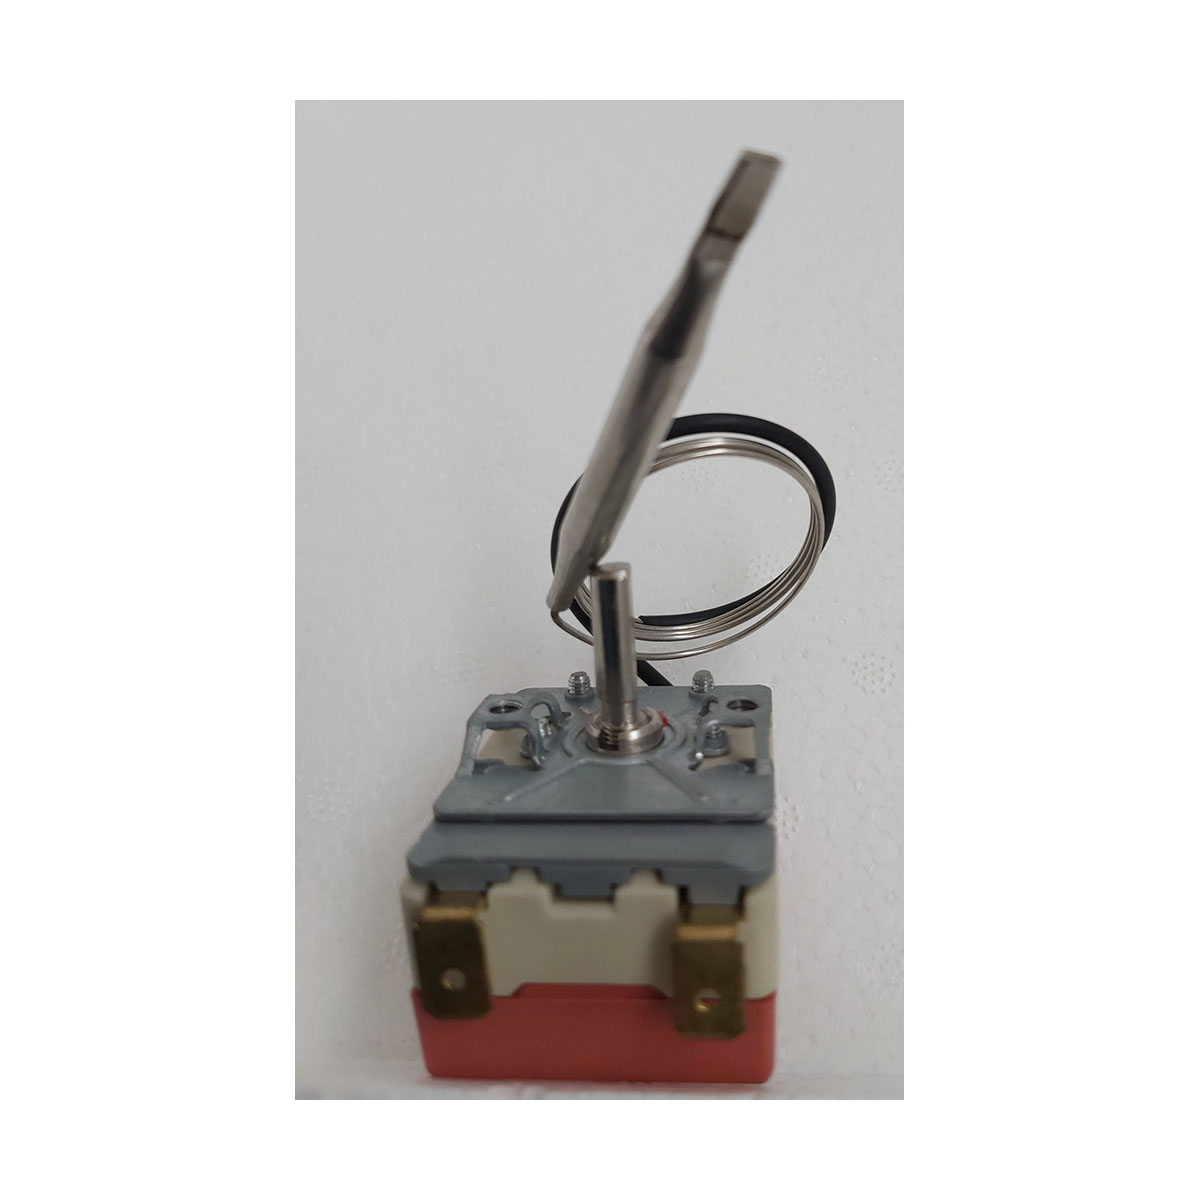
The HY-87 doughnut fryer thermostat is a genuine replacement part designed to restore precise, reliable temperature control to your commercial doughnut fryer.
If your fryer is struggling to hold a steady oil temperature, producing inconsistent results, or failing to heat correctly, a worn or faulty thermostat is often the cause and replacing it is a straightforward, cost-effective fix.
Commercial doughnut fryers depend on accurate thermostat control to maintain the correct frying temperature throughout service.
Consistent oil temperature is essential not just for food quality and texture, but also for food safety and energy efficiency.
Over time, thermostats can wear from repeated heating cycles and constant use, leading to temperature drift, slow response, or complete failure.
HY-87 Doughnut Fryer Thermostat Specifications
- Temperature range: 50°C to 200°C
- Maximum temperature: 200°C
- Switching capacity: 16A
- Rotation angle: 270°
- Capillary diameter: 1mm
- Voltage: 250V
- Compatibility: Suitable for various makes and models using the HY-87 commercial catering appliance fryer
If you’re unsure whether this thermostat matches your specific fryer model, please contact us and we’ll confirm compatibility before you order.
Why an Accurate Thermostat Matters
A properly functioning HY-87 doughnut fryer thermostat ensures your oil stays within the correct frying range from 50°C up to 200°C, which is critical for consistent cooking results.
An inaccurate or failing thermostat can cause undercooked or overcooked doughnuts, excess oil absorption, or unsafe overheating. Replacing a worn thermostat promptly keeps your fryer performing reliably and safely throughout busy service periods.
Installation Notes
Thermostat replacement should only be carried out by a qualified electrician or a competent engineer experienced with commercial catering equipment. Before starting:
- Disconnect the fryer from the power supply completely.
- Allow the unit to cool fully, and drain the oil if required for access.
- Locate the existing thermostat and note the wiring and capillary tube routing.
- Disconnect and remove the old thermostat.
- Fit the new thermostat, matching the original wiring and capillary positioning exactly.
- Test the unit safely before returning it to service.